Configuring Google Workspace as an OIDC identity provider for Hashicorp Vault
Table of Contents
- Overview
- Business Outcome
- Prerequisites
- Step 1: Setting Up the OAuth Consent Screen
- Step 2: Creating OAuth 2.0 Client IDs
- Step 3: Setting Up HashiCorp Vault
- Step 4: Enabling OIDC Authentication
- Step 5: Configuring the OIDC Role
- Step 6: Logging in with OIDC
- Conclusion
Overview
This blog post serves as a comprehensive guide to integrating Google Workspace as an OpenID Connect (OIDC) identity provider with HashiCorp Vault. By leveraging OIDC, organizations can streamline authentication for users accessing Vault, enhancing security and user experience. The guide provides detailed, step-by-step instructions covering the OAuth configuration in Google Workspace, setting up a Vault server in development mode, configuring OIDC authentication, and enabling the necessary callback URIs. The tutorial aims to simplify the process of implementing a secure, standards-compliant authentication method, making it easier for teams to authenticate and manage access to critical secrets in Vault.
Prerequisites
The administrator-level access to the organization’s Google Workspace account is required to create a new project, or permissions to create and configure OAuth 2.0 credentials for an existing project.
Step 1: Fill out the OAuth consent screen
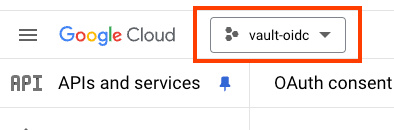
- In the Google Cloud console, go to menu > APIs & Services > OAuth consent screen.
- Select project, or create new project if does not have any.
- From the left navigation ment, select APIs and services > OAuth consent screen .

- In the user type for your app, choose “Internal”, then click Create.
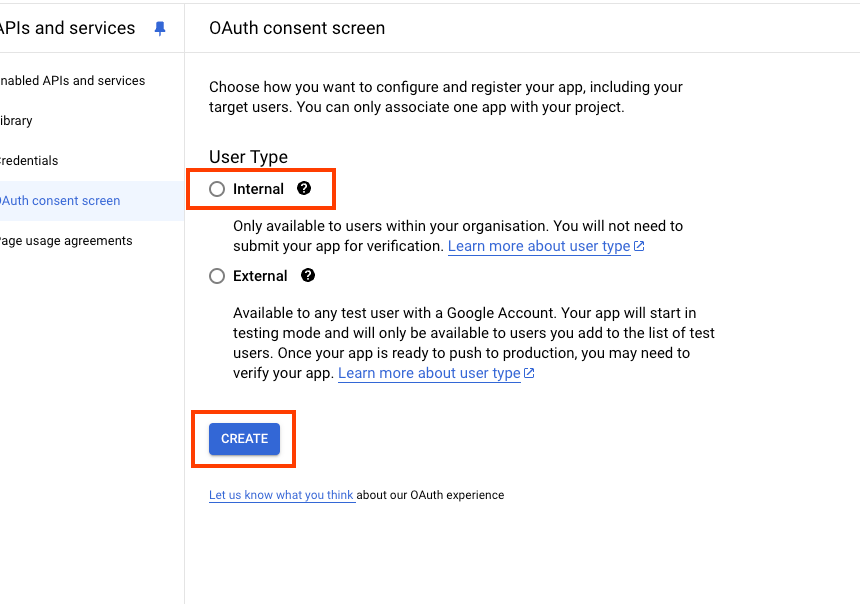
- Complete the app registration form, then click Save and Continue.
- On the Scopes page leave everything blank and choose Save and Continue.
The OAuth consent screen for the selected project is now configured.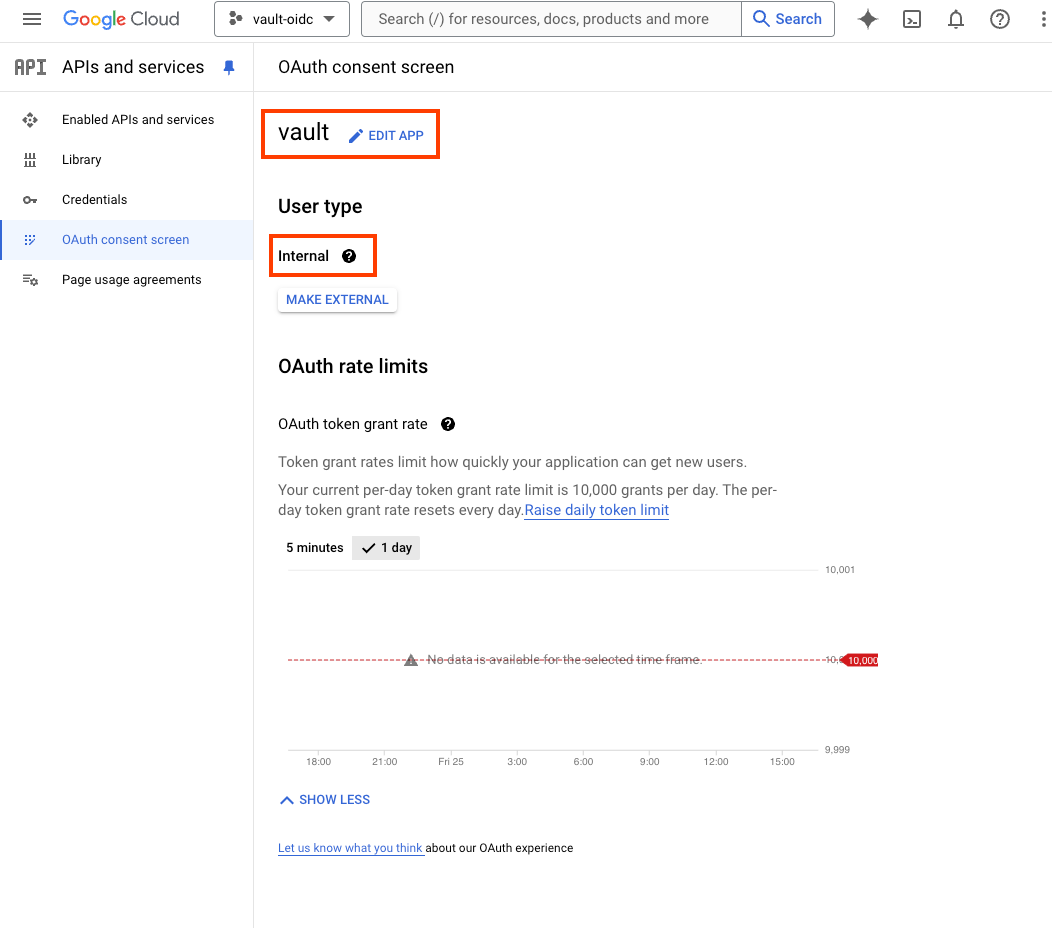
Step 2: Creates OAuth 2.0 Client IDs
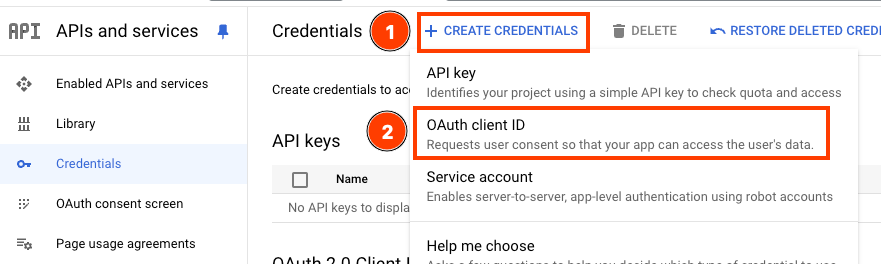
1 In the Google Cloud consle, go to APIs & Services > Credentials.
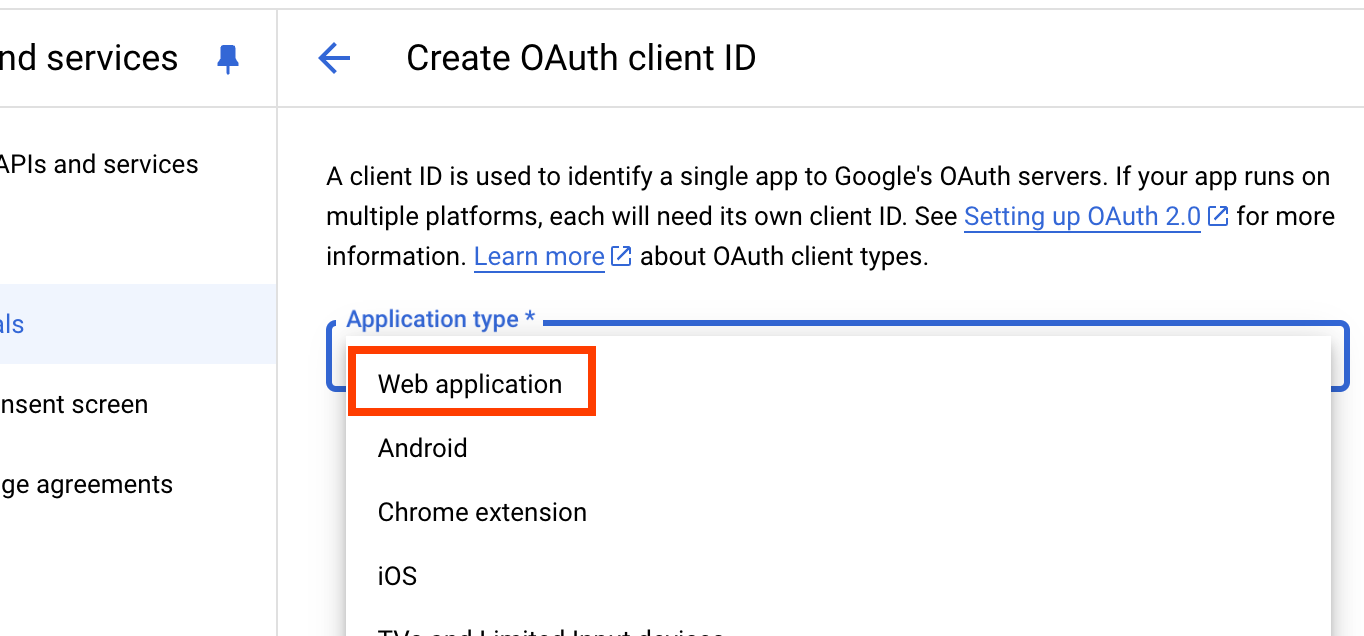
- Choose “CREATE CREDENTIALS” from the top, and choose “OAuth client ID”
- In the “Applcation type”, choose “Web application”
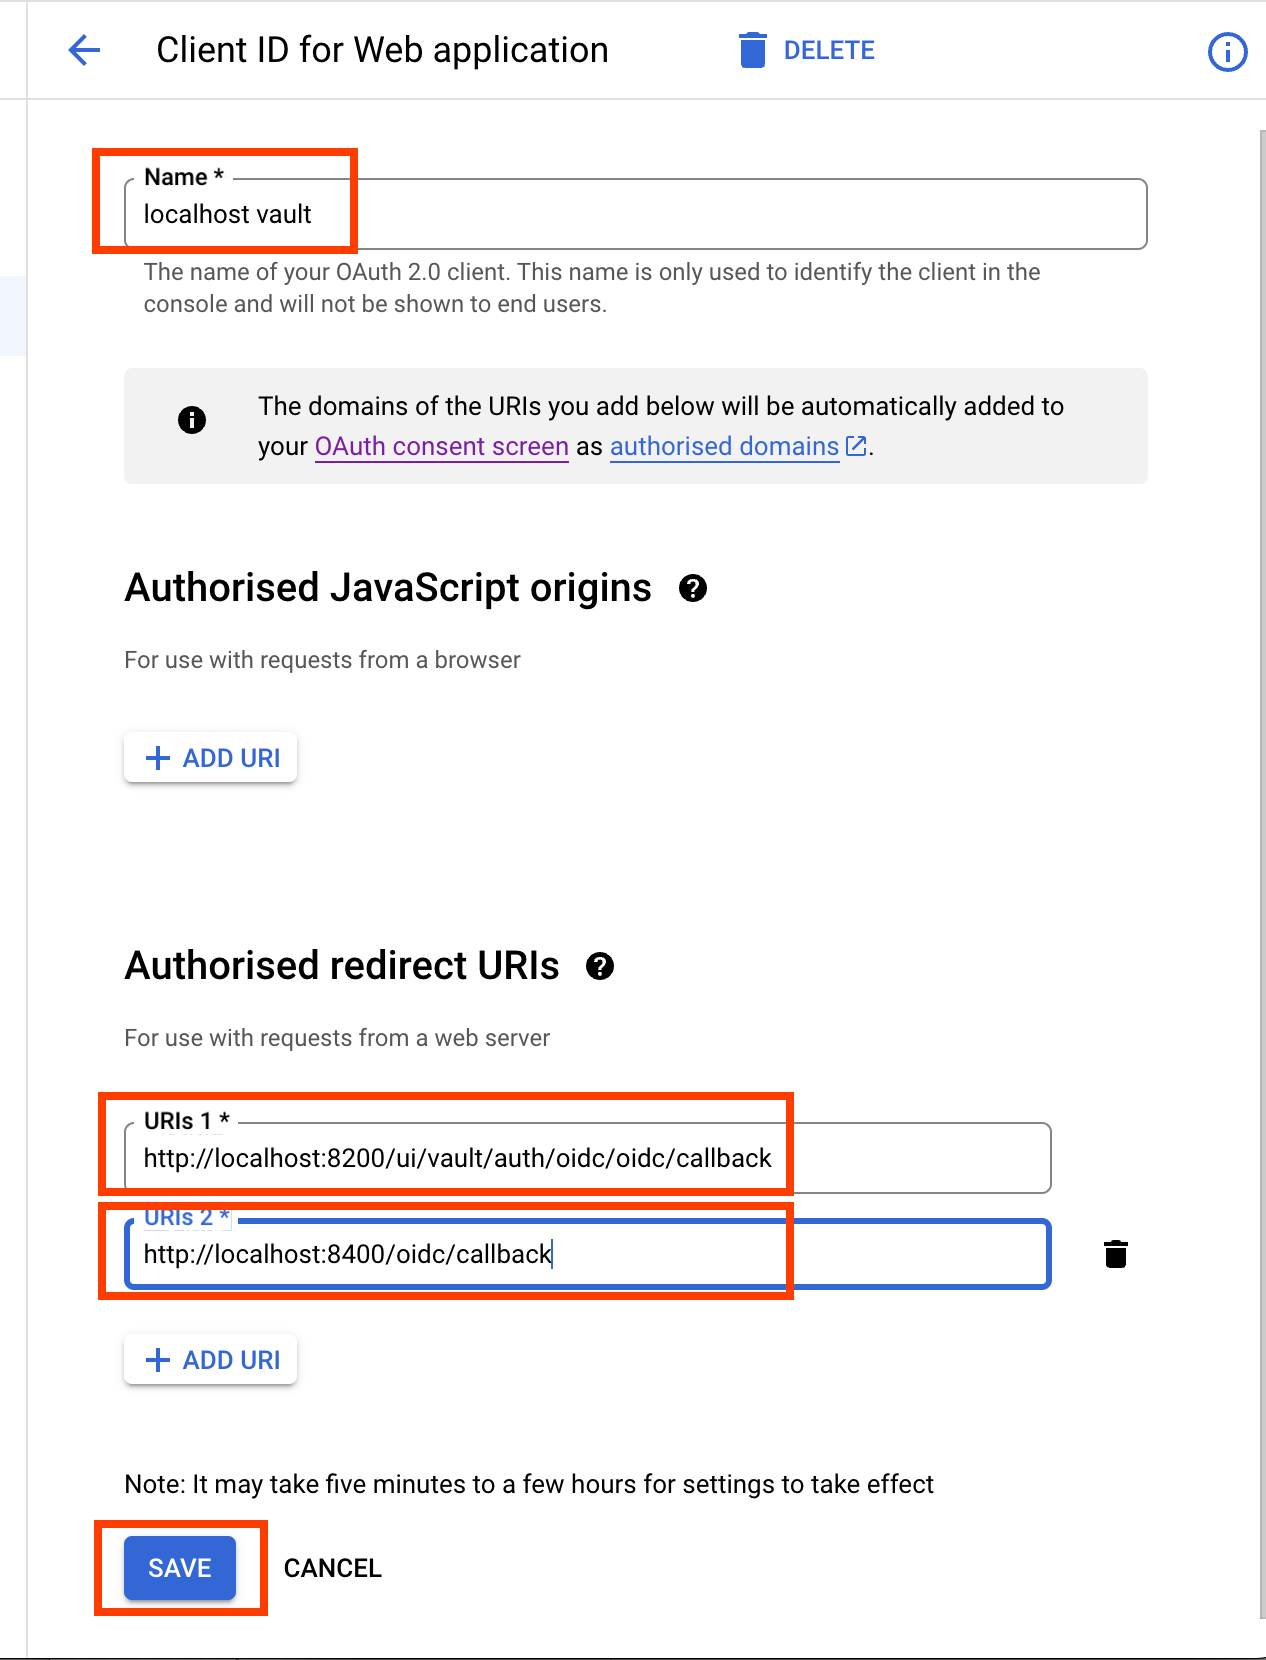
- Enter the client ID name.
- In the “Authorised redirect URIs”, add these 2 URI. Details of these 2 URIs can be found in Step 4
- http://localhost:8200/ui/vault/auth/oidc/oidc/callback
- http://localhost:8400/oidc/callback
- Choose “CREATE”
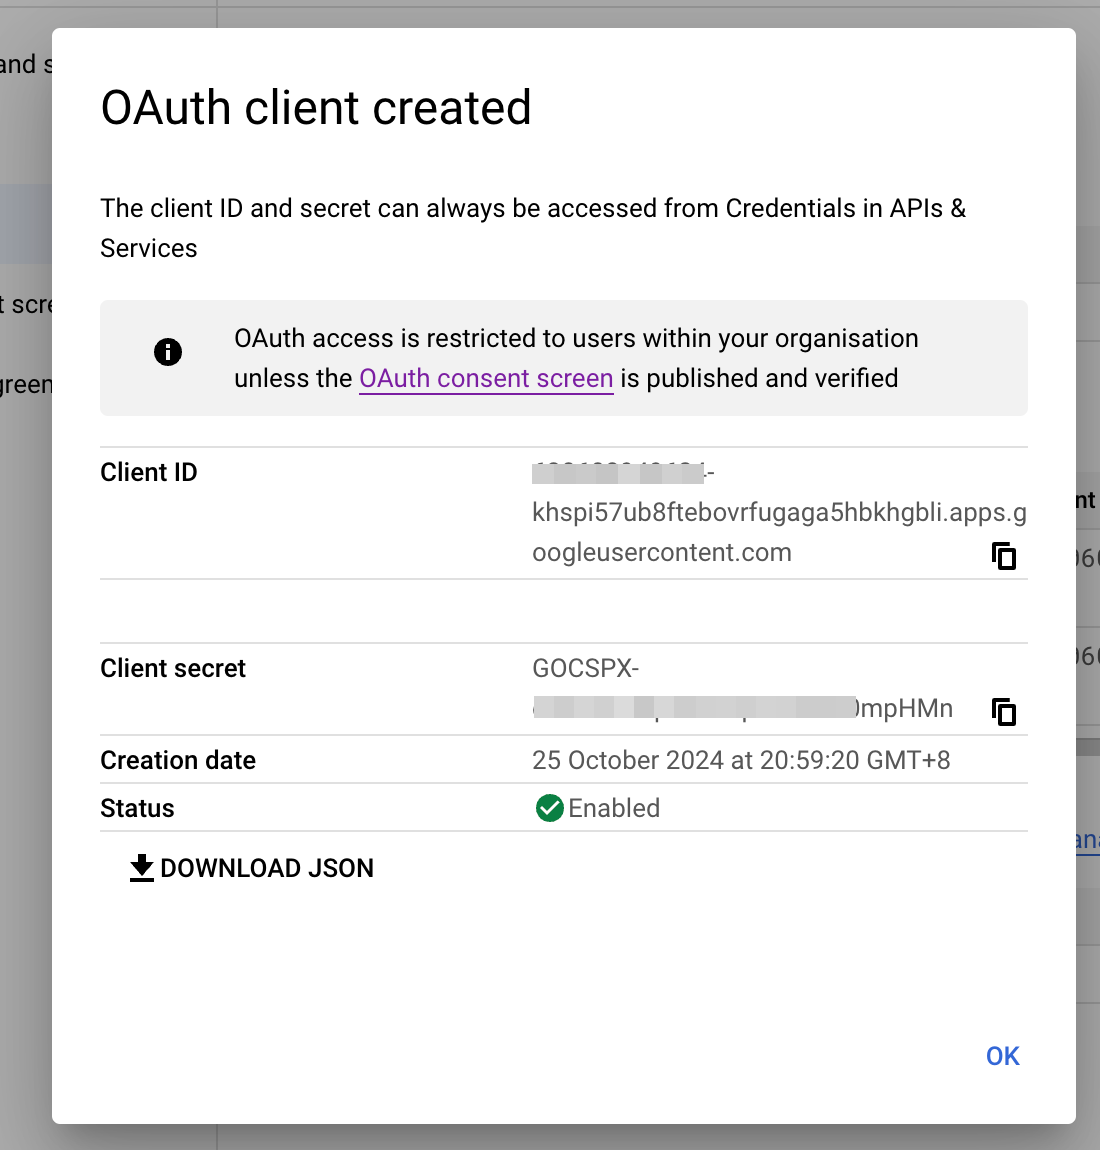
- Screen showing that OAuth client created. Keep the screen open because we will need the information when creating the OAuth Auth for Vault
Step 3: Setting up Hashicorp Vault
Note: In this tutorial, a localhost Vault will be used.
- Open a shell terminal, and starts the Vault server with command
vault server -dev - The following messages will show that the server is up
WARNING! dev mode is enabled! In this mode, Vault runs entirely in-memory and starts unsealed with a single unseal key. The root token is already authenticated to the CLI, so you can immediately begin using Vault. You may need to set the following environment variables: $ export VAULT_ADDR='http://127.0.0.1:8200' The unseal key and root token are displayed below in case you want to seal/unseal the Vault or re-authenticate. Unseal Key: <REDACTED> Root Token: hvs.<REDACTED> Development mode should NOT be used in production installations! - Open another shell terminal, set the environment variable for the VAULT endpoint:
$ export VAULT_ADDR='http://127.0.0.1:8200'
Step 4: Enable OIDC Auth
- Keep the VAULT token as environment variable
$ export VAULT_TOKEN=hvs.<REDACTED> - Enable OIDC auth for Vault
 $ vault auth enable oidc
 Success! Enabled oidc auth method at: oidc/
Step 5: Setting up OIDC Role
- Create a role for the OIDC default role. Explainations of each parameter:
- The
user_claimhas to be eithersuboremailfor Google Workspace queries to success. - The two
allowed_redirect_uris:http://localhost:8250/oidc/callbackis a temporary local webserver on port 8250 to receive a redirect to localhost, whenvault login -method=oidcis being executed.${VAULT_ADDR}/ui/vault/auth/oidc/oidc/callbackis the callback from Google Workspace with the token
user_claimis to uniquely identify the user.groups_claimis to to uniquely identify the set of groups to which the user belongs.verbose_oidc_loggingLog received OIDC tokens and claims if the non-production server was started withexport VAULT_LOG_LEVEL=debug.$ vault write auth/oidc/role/default \ user_claim="email" \ groups_claim="groups" \ allowed_redirect_uris=http://localhost:8250/oidc/callback,${VAULT_ADDR}/ui/vault/auth/oidc/oidc/callback \ verbose_oidc_logging=true Success! Data written to: auth/oidc/config
- The
- Configure the Vault OIDC auth with Google OIDC information. Reference to the screen, the mapping as followings:
- oidc_discovery_url=”https://accounts.google.com”
- oidc_client_id=”Client ID”
- oidc_client_secret=”Client Secret”
 vault write auth/oidc/config \
 oidc_discovery_url=https://accounts.google.com \
 oidc_client_id=<MASKED>.apps.googleusercontent.com \
 oidc_client_secret=GOCSPX-<MASKED>mpHMn \
 default_role=default
Step 6: Login with OIDC
- Login with OIDC method.
-
The
port=8250is the local server thatvault logincreates for the Google Workspace will redirect to. ``` % vault login -method=oidc port=8400 role=default Complete the login via your OIDC provider. Launching browser to:https://accounts.google.com/o/oauth2/v2/auth?client_id=630608949624-tb6c9lhieuotajo4r8oe0to0ek42nul7.apps.googleusercontent.com&code_challenge=D4VghdGdyoC-8Uaz8BMvictrP3pyDIV6TbmaQAdHkuY&code_challenge_method=S256&nonce=n_TB7BCUd8bzMpm8KSnZxL&redirect_uri=http%3A%2F%2Flocalhost%3A8400%2Foidc%2Fcallback&response_type=code&scope=openid+email+profile&state=st_jIhTjKFTbVMs8k8aoHbb
Waiting for OIDC authentication to complete… ```
-
- A browser should pop up for the Google login
- Once browser login successful, the vault will display the token:
 Success! You are now authenticated. The token information displayed below
 is already stored in the token helper. You do NOT need to run "vault login"
 again. Future Vault requests will automatically use this token.

 Key                  Value
 ---                  -----
 token                hvs.<OIDC TOKEN>
 token_accessor       <REDACTED>
 token_duration       768h
 token_renewable      true
 token_policies       ["default"]
 identity_policies    []
 policies             ["default"]
 token_meta_role      default
Note: If the port mismatch with OAuth callback, Google workspace will throw Error 400: 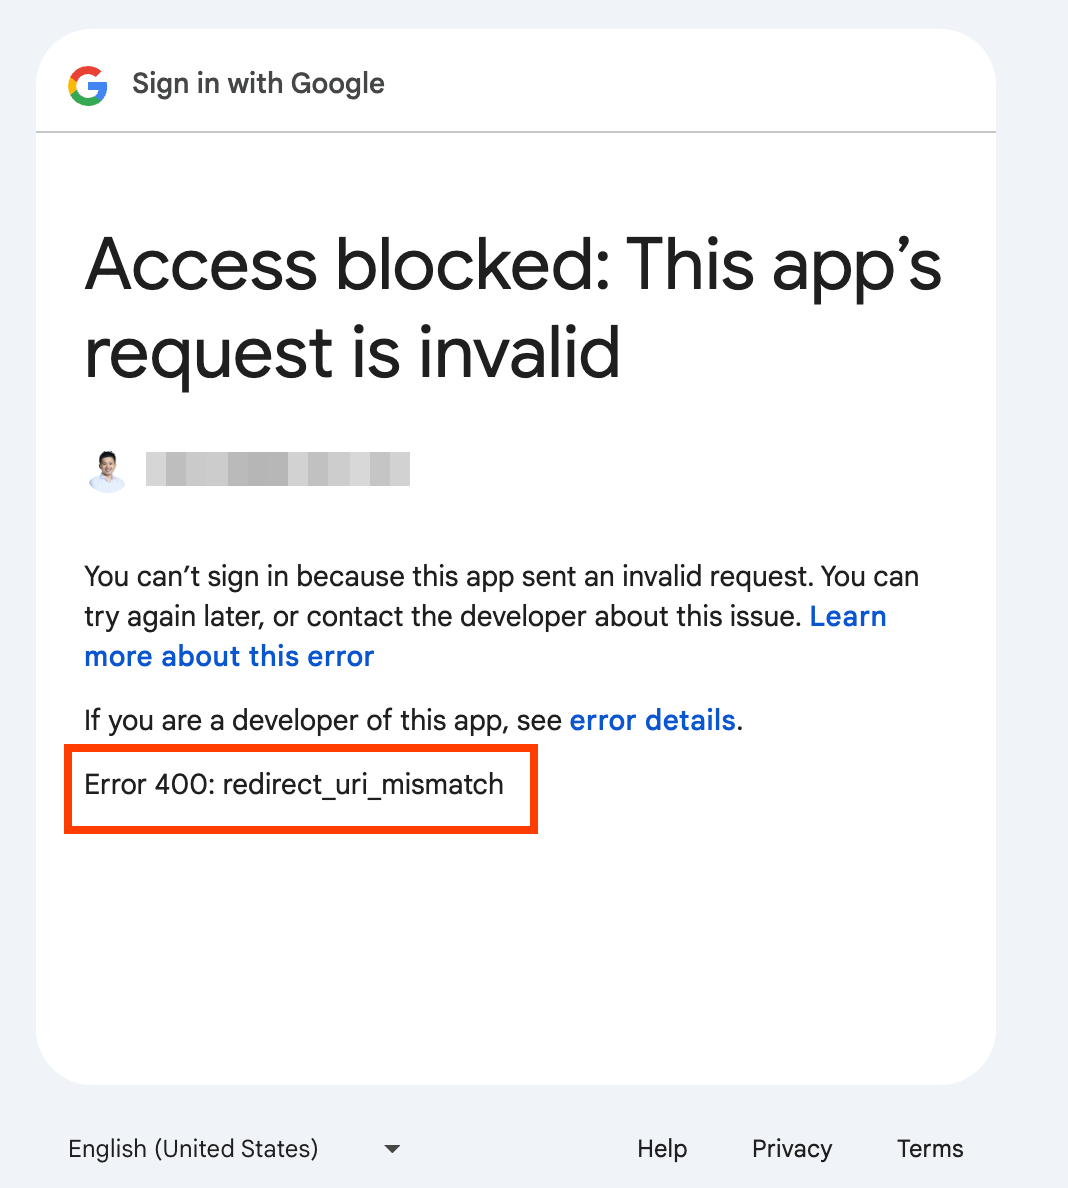
Conclusion
Configuring Google Workspace as an OpenID Connect (OIDC) provider for HashiCorp Vault enhances the security, scalability, and usability of your organization’s authentication processes. By following the steps outlined, teams can leverage Google’s identity management to streamline secure access to Vault, reducing the risks associated with multiple credentials and manual access controls. This setup allows organizations to provide consistent, controlled access to sensitive data while integrating seamlessly with existing identity providers. Adopting OIDC with Vault not only strengthens compliance and security but also promotes operational efficiency, empowering teams to focus on core tasks within a unified, secure infrastructure.